
Here's what the nursery looked like in July on our first day of owning our house.

Our first priority in July was to remove the wallpaper, the carpet and paint the trim. You can read about that experience here. Back then we referred to the nursery as guest room 1. By the end of the first week in July we had a room with red walls, white trim, no carpet and an announcement of our pregnancy to share with our parents.
.JPG)
When my parents returned in September the new carpet had been installed and my dad took on the task of priming the red walls with grey primer. At the time I thought it would be the push we needed to start working on the nursery . . . 2 months later we finally got around to it.
In November we made the decision that we would paint one wall with stripes and picked out the colors that we wanted to use. We started by roughly measuring out where our small stripes would be and painted an approximate 2 inch stripe.

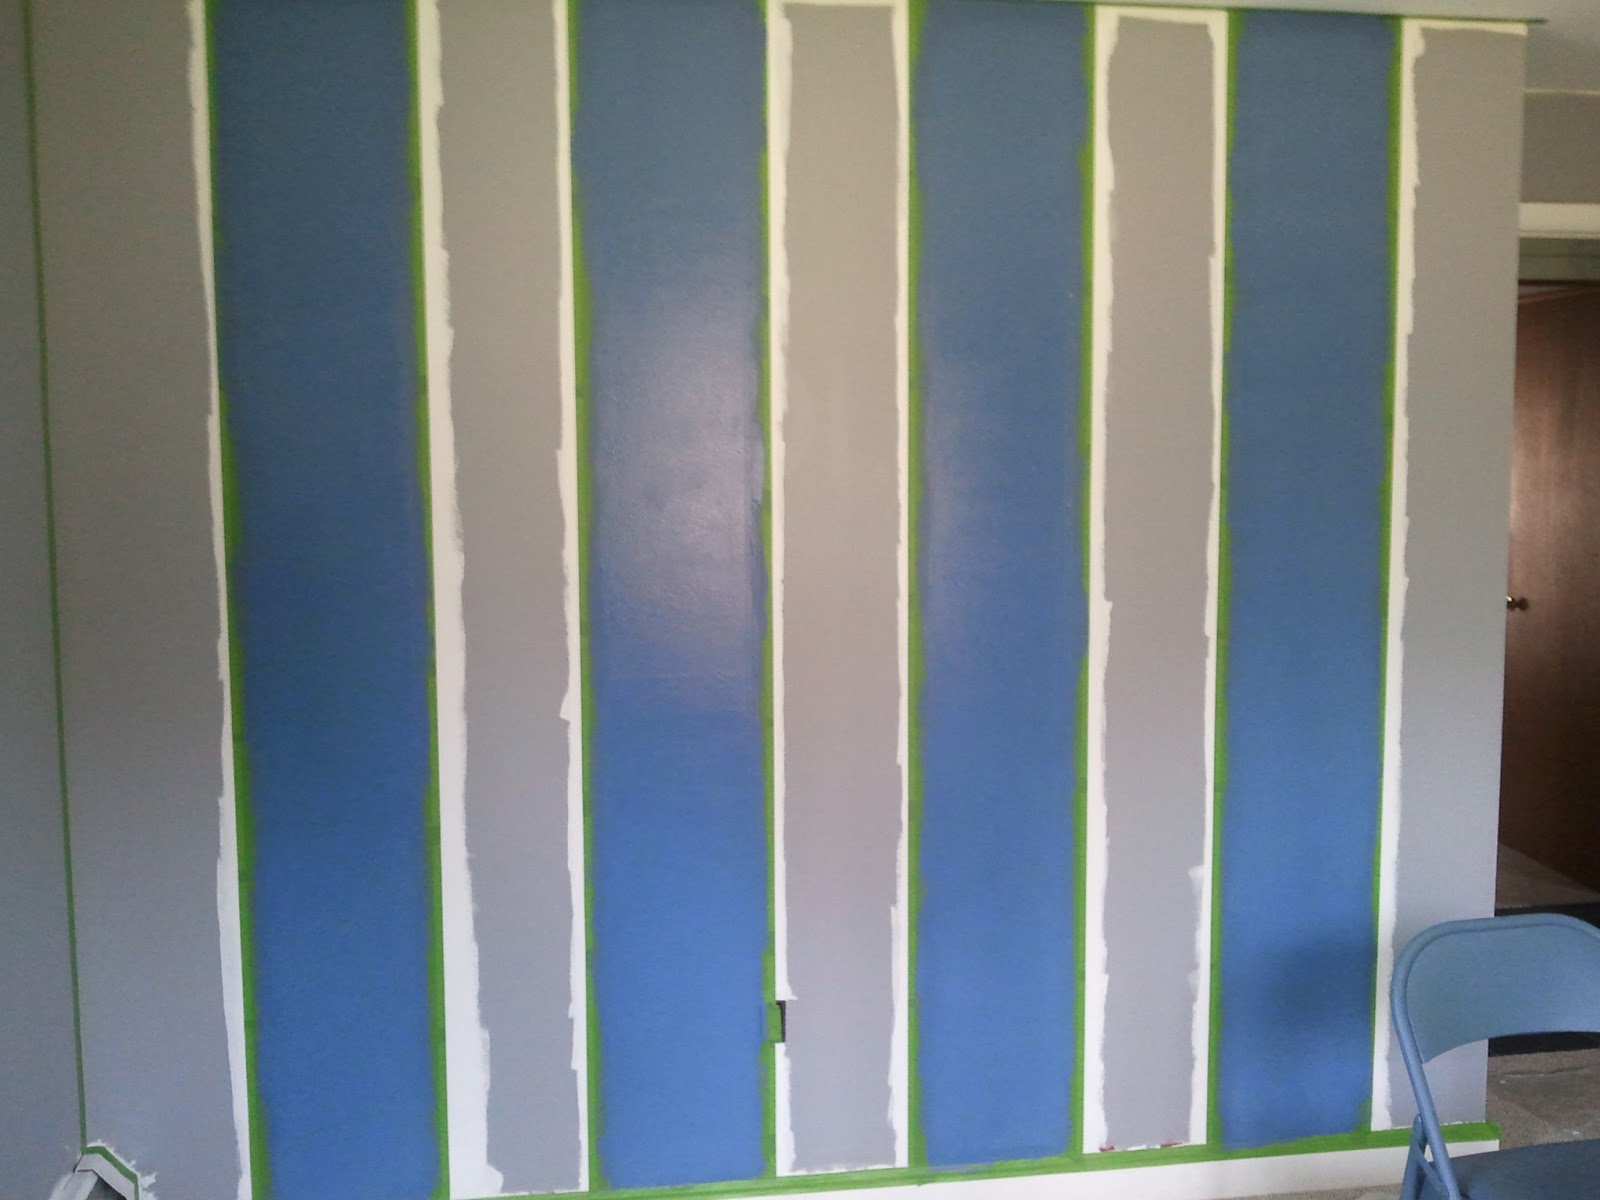
We then taped off the ceiling, baseboards and actual 2 inch stripes.

After taping off the two inch white stripes we started painting our 10 inch stripes. First we painted the blue stripes. I was smitten, I loved the way the blue looked.
Second we painted the orange stripes. At this point I was a little concerned that we were making our child's room into a circus room. But, as I have learnt with other projects, it's really important to reserve judgement until the end of the project. Things can look kinda crazy in the middle and that's okay.

After removing the tape, we could finally see the finished blue, orange and white stripes.

At that point we got a little stuck. I knew I wanted a sandy colored neutral to use on the remaining three walls. Not only would it tone down the circus stripes but it would also allow the bunting flags my sister-in-law made for our wedding to pop and really bring the whole room together. Not having any idea how to find the right neutral I turned to the Petersiks of Young House Love. I've been reading their blog for a while for help with our house projects and they suggested the neutral that we ended up loving and using on the remaining three walls. You can see it on the left wall on the picture below.

My reward for finishing painting the walls was to finally be able to take the crib out of it's box and assemble it. One of my favorite projects is assembling Ikea furniture and this didn't disappoint. I then hung up the flags and made the baby's bed complete with the Sleep Sheep we received from Cheryl and stuffed animals from Victoria and Jessica. Next up was finding an appropriate dresser which could also be used as a changing table.
And just because it's so fun to look at here's a comparison before and after. I absolutely love how much this room changed with just some new carpet and paint.
 |
| click photo to enlarge |

No comments:
Post a Comment